SQL Server Performance Tuning Part 1
 by
by Performance tuning is always a complex subject whenever one has to deal with it. When beginning with SQL Server, this was the most difficult area for me. However, there is a saying that if one has to overcome their fear one has to face the fear first. So did exactly this. Started to practice performance tuning.
Every performance tuning exercise gave us new experience. I firmly believe in “Practice makes perfect†when I am involved in performance tuning projects. There were times when I could figure out problems by just looking at few configurations and settings. When asked how I knew this so quickly my usual answer was “experience.â€
Performance tuning used to be the responsibility of the DBA and developers who built the code. However, recently seen in many organizations that there are dedicated experts who are responsible for performance tuning of the server. Often they have to manage multiple servers and heterogeneous RDBMS. The job is more stressful and more challenging than we know.
I constantly try to test out various aspects of performance tuning as well as all available tools which can help me select the optimal solution for performance tuning.
Let us divide this article into the following subjects.
- Getting Started
- Analysis and Detection
- Tuning and Optimizing
Getting Started
In this section we will go over basic steps to install DB Optimizer XE2 Version 3.0. First of all go to DB-Optimizer-XE and download the trial version of the DB Optimizer. The installation is very quick and simple. The installation is pretty much selecting button NEXT … NEXT and Finish!

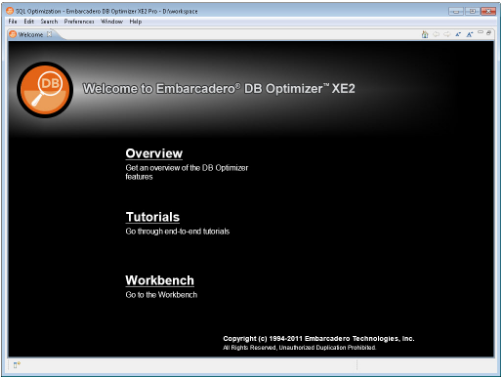
After you install and load the DB Optimizer, and right after the splash screen it will ask for the workspace where all the files of this optimization project will be saved. I think the most difficult part is over by now. From here the tool is very easy to use and self-explanatory. The very first screen has three sections: overview, tutorial and workbench.
Strongly suggest that if you are new to the tool then go over the tutorial. The tutorial is well organized and very detailed. It not only explains how one can do various performance tuning tasks but it often explains why they are done a certain way.
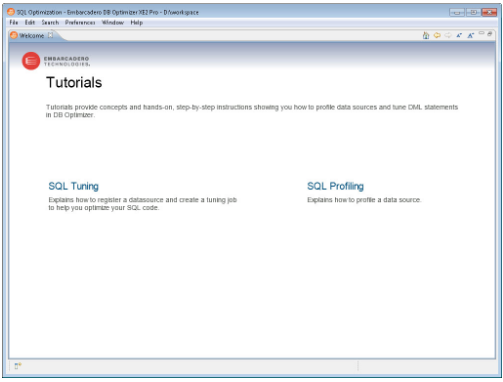
Once the tutorial is over or if you are an experienced user, head to the workbench directly. Workbench is the area where we will do various performance tuning related tasks.
Configuration
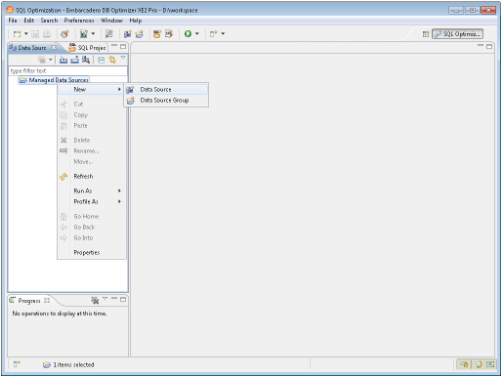
Here is one thing we have to point out: even though there is no wizard or step-by-step setup guide – the interface is very intuitive. For example, as soon as you start workbench, the very first screen is data source. Once data source is configured a simple right click on the data source is all one needs to work with performance tuning aspects.
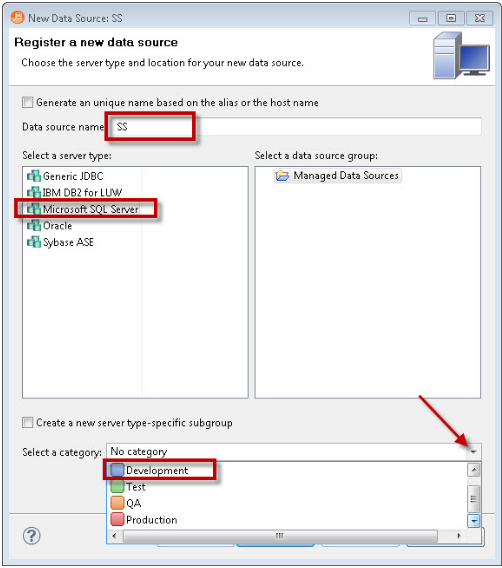
This tool lets you connect to multiple data sources.We will select SQL Server as the data source and give it an easy name so we can refer to it easily in the future. One specific thing worth noting is that while connecting to the data source, it lets you specify what kind of data source you are connecting to. Are you connecting to Development, Test, QA or Production? This is very essential so that we do not deploy changes to the incorrect server while we are performing various tasks with DB Optimizer.
The next step is to provide details of the connection string and check if the connection is successful by clicking on the Test Connection button at the bottom. If the host address along with username and password is correct, the connection will pop up with a “Connection was successful†message.
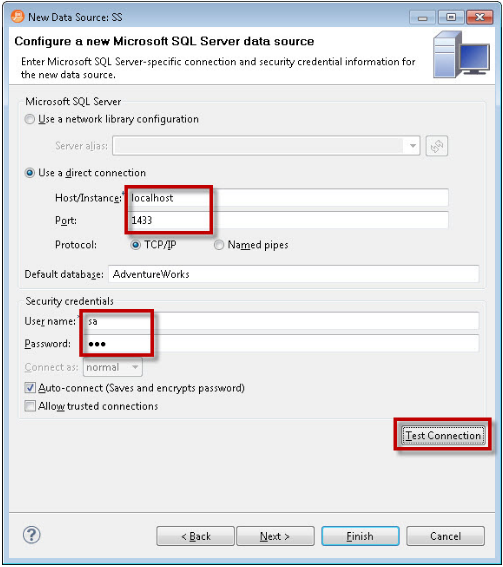
Click on Finish after the connection is successfully made to the data source. It will register the data source and bring up the same screen where you started.
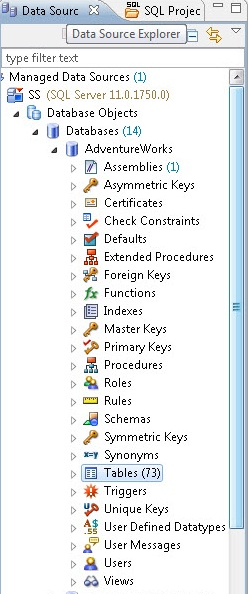
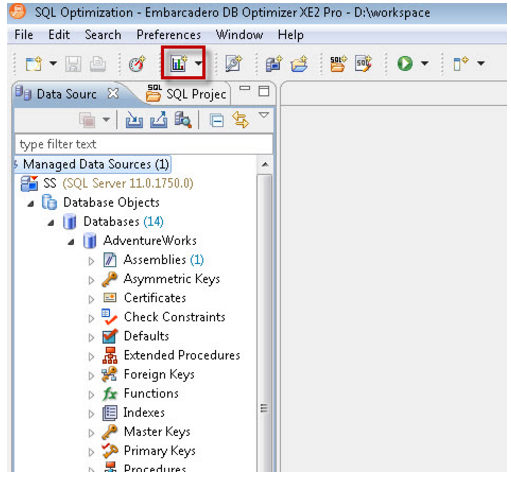
Expand the data source which we have registered. Once you expand you will see every single object listed under the data source.
After configuring the data source, the next task is to configure the profile.
Profile configuration is a very easy process and we define where we will be storing various captured data in the database as well what data source will be captured.
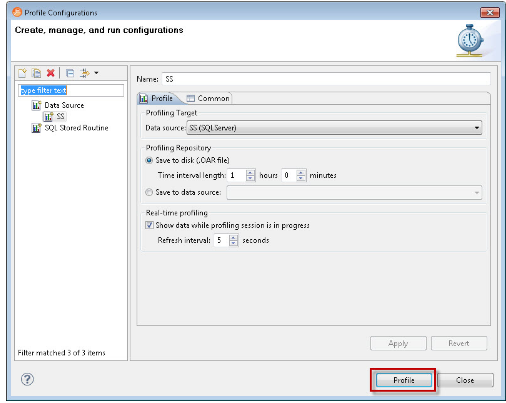
Once the data profile is configured go ahead and click on Profile. We are now 100% done in configuring the setup. The next step is to analyze our profiled data.
Statistics Says It All
16
Years of Experience
3000
Gratified Students
100
Training Batches
9600
Training Hours
Subscribe
Please subscribe our technical blog to get recent updates.